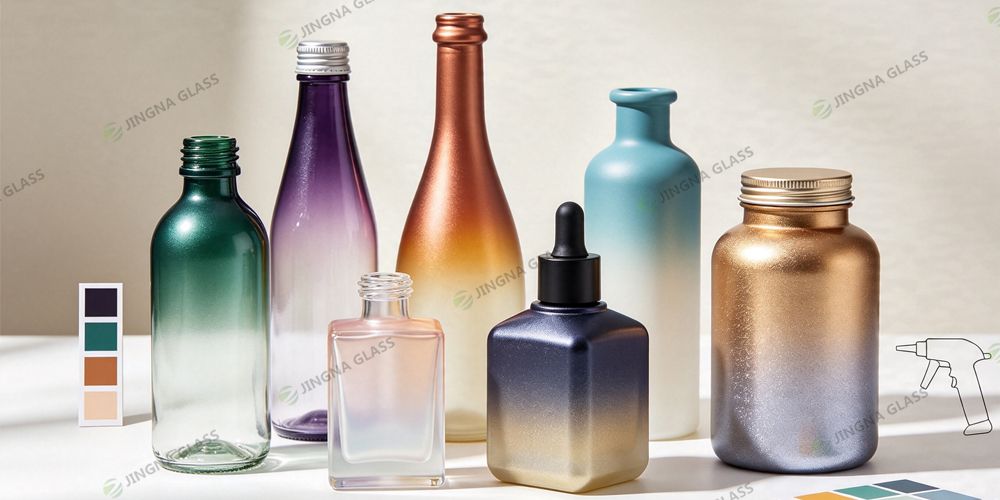
Colored glass bottles have dominated the markets of wine, beauty and home containers with their rich appearances. The firmness and smoothness of the spray coating directly determine the quality of the products when they are shipped. Many manufacturers have excellent color matching and spraying processes, but due to the negligence in pretreatment, there are batches of paint peeling and surface particle defects, which greatly increase the cost of rework. Glass has no pores and its surface is naturally free of mold release agents, oil stains, fingerprints and dust. Ordinary wiping cannot meet the adhesion requirements of spraying. The standardized pretreatment is divided into four major steps.
The first step is deep cleaning. The mass production line adopts a combined process of alkali washing and ultrasonic cleaning. The oil stains are decomposed by soaking in a 5% sodium hydroxide solution for 5 minutes, and then fine impurities are removed through ultrasonic vibration. After multiple rinses with clean water, it is dried at high temperature to prevent water stains from remaining. For small-batch processing, industrial alcohol can be used in combination with a lint-free cloth to repeatedly wipe the bottle, and the bottle body can be gently sanded with 2000-mesh fine sandpaper to slightly increase the surface roughness and enhance the adhesion of the paint film.
The second step is electrostatic dust removal. After drying and cooling, the glass bottles enter the dust removal station. High-pressure air guns work in conjunction with electrostatic dust removal devices to blow away floating dust. The spray booth should maintain a constant temperature of 22±3℃ and a humidity of 65±5% to reduce the adhesion of floating dust in the air to the bottle body and prevent the appearance of raised particles after spraying. High-demand beauty glass bottles will add a flame treatment process. The high-temperature flame enhances the surface energy of the glass, fundamentally solving the problems of paint film shrinkage and fisheye pinholes.
The third step is the preheating process. After the dust removal is completed, the bottle is sent into the preheating oven for heating for 8 to 10 minutes to ensure that the bottle body has uniform residual heat. After the paint atomizes, it can quickly wet the glass surface, preventing the paint from accumulating and sagging. The preheating temperature should not be too high; otherwise, it will dilute the paint in advance, causing the color to become mottled. If the temperature is too low, the adhesion of the coating will drop significantly.
The fourth step is isolation protection. High-temperature resistant protective films should be applied in advance to areas such as the bottle mouth and threads that do not require spraying to prevent the coating from blocking the bottle mouth and affecting the sealing. After the entire set of pretreatment is completed, it should be quickly sent to the spraying station with an interval of no more than 3 minutes to prevent secondary contamination with dust and hand sweat.
Standardized pretreatment can enhance the adhesion of the coating to the 5B industrial standard. Even when used for long-term storage of wine and skin care products, it is less likely to peel off. Combined with precise color matching and uniform spraying, it can stably produce various types of colored glass bottles such as matte, pearlescent, and gradient, enhancing the market competitiveness of the products.